
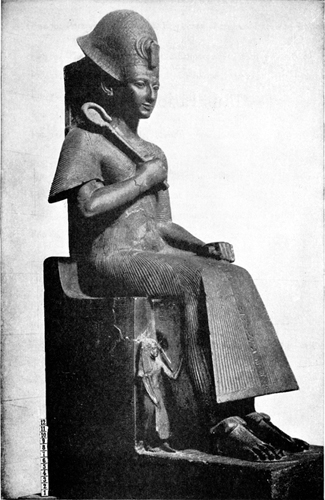
FIG. 1—Granite statue of Rameses 11
Turin Museum, Italy
(See pages 188, 213)
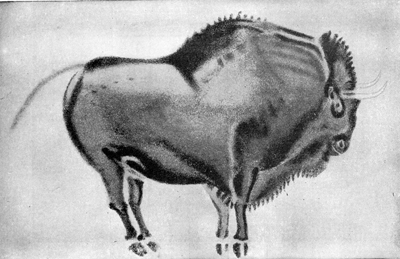
FIG. 2—Bison painted in paleolithic cave at Altamira, Spain
Photo by American Museum of Natural History
(See page 96)
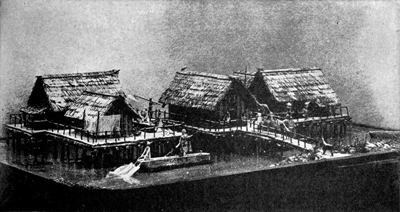
FIG. 3—Hypothetical reconstruction of a neolithic lake dwelling
American Museum of Natural History
(See page 98)
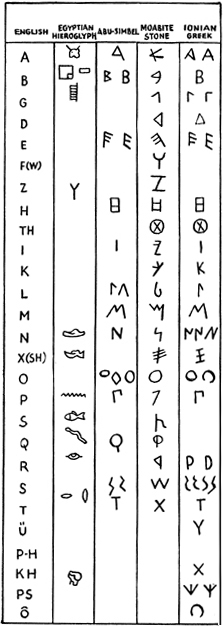
FIG. 4—Development of the alphabet

FIG. 5—Stele of Naram-sin
Louvre; photo by Archives Photographiques d’Art et d’Histoire
(See page 122)

FIG. 6—The “little” Gudea
Louvre; photo by Metropolitan Museum of Art
(See page 122)
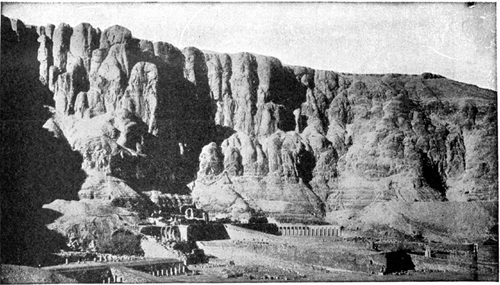
FIG. 7—Temple of Der-el-Bahri
Photo by Lindsley F. Hall
(See page 154)
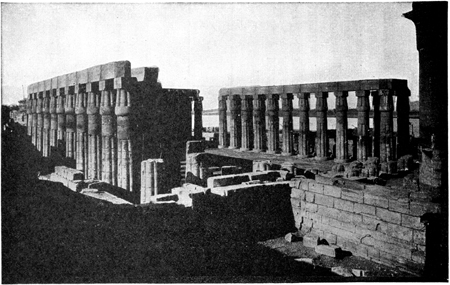
FIG. 8—Colonnade and court of the temple at Luxor
Photo by Metropolitan Museum of Art
(See page 142)

FIG. 9—Hypothetical reconstruction of the Hypostyle Hall at Karnak
From a model in the Metropolitan Museum of Art
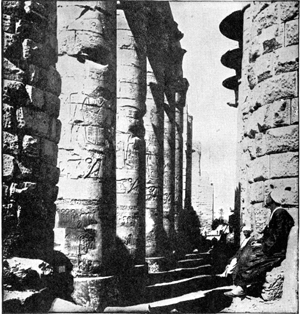
FIG. 10—Colonnade of the Hypostyle Hall at Karnak
Underwood & Underwood
(See page 143)
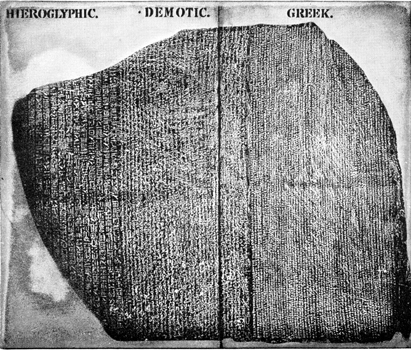
FIG. 11—The Rosetta Stone
British Museum
(See page 145)
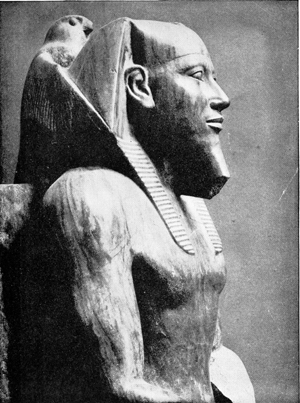
FIG. 12—Diorite head of the Pharaoh Khafre
Cairo Museum; photo by Metropolitan Museum of Art
(See pages 148, 186)
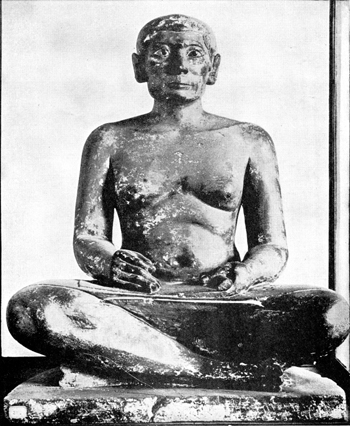
FIG. 13—The seated Scribe
Louvre; photo by Metropolitan Museum of Art
(See pages 161, 186)
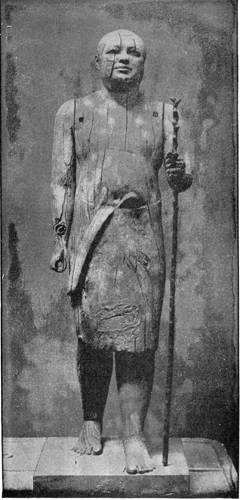
FIG. 14—Wooden figure of the “Sheik-el-Beled”
Cairo Museum; photo by Metropolitan Museum of Art
(See pages 168, 186)
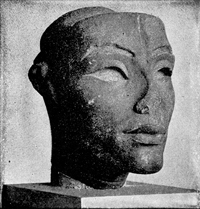
FIG. 15—Sandstone head from the workshop of the sculptor Thutmose at Amarna
State Museum, Berlin; photo by Metropolitan Museum of Art

FIG. 16—Head of a king, probably Senusret III
Metropolitan Museum of Art
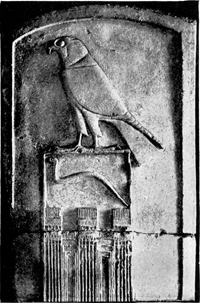
FIG. 17—The royal falcon and serpent. Limestone relief from First Dynasty
Louvre; photo by Metropolitan Museum of Art
(See pages 184-190)
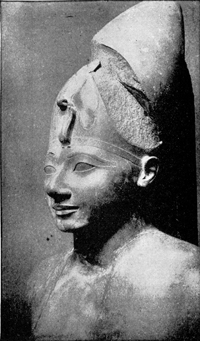
FIG. 18—Head of Thutmose III
Cairo Museum; photo by Metropolitan Museum of Art
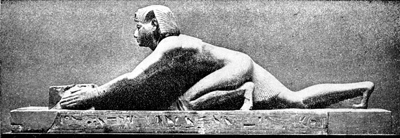
FIG. 19—Rameses II presenting an offering
Cairo Museum; photo by Metropolitan Museum of Art
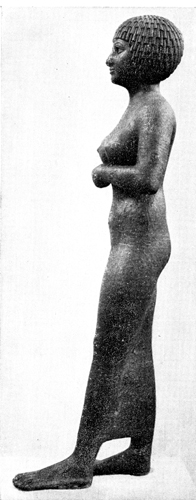
FIG. 20—Bronze figure of the Lady Tekoschet
Athens Museum; photo by Metropolitan Museum of Art
(See pages 188-9)
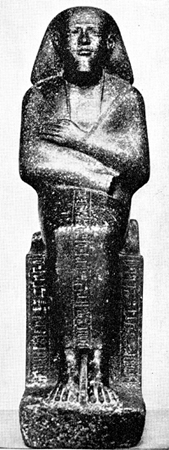
FIG. 21—Seated figure of Montumihait
State Museum, Berlin

FIG. 22—Colossi of Rameses II, with life-size figures of Queen Nofretete at his feet, at the cave temple of Abu Simbel
Ewing Galloway, N. Y.
(See page 188)
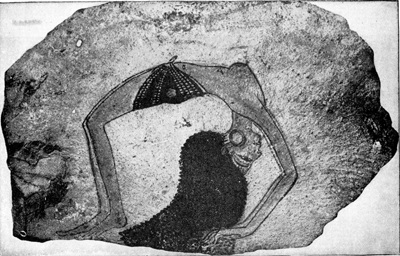
FIG. 23—The dancing girl Design on an ostracon
Turin Museum, Italy
(See page 191)
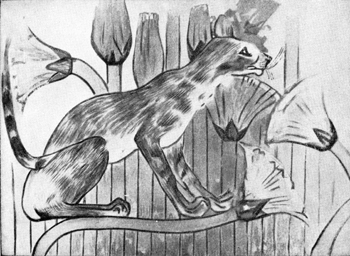
FIG. 24—Cat watching his prey. A wall-painting in the grave of Khnumhotep at Beni-Hasan
Copy by Howard Carter; courtesy of Egypt Exploration Society
(See page 190)
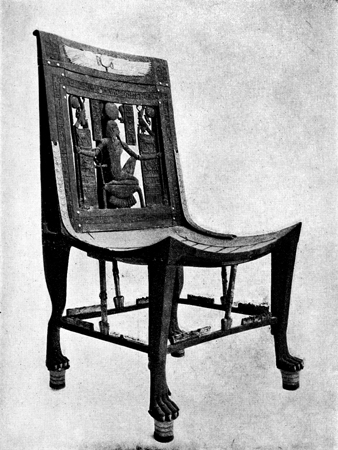
FIG. 25—Chair of Tutenkhamon
Cairo Museum; photo by Metropolitan Museum of Art
(See page 191)
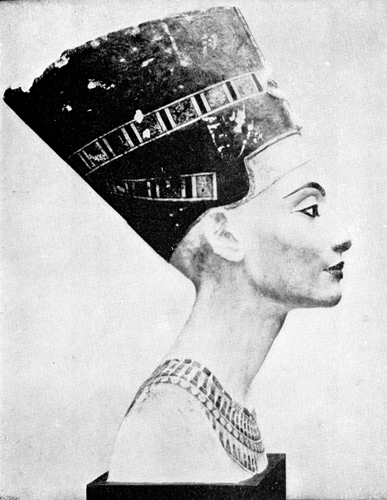
FIG. 26—Painted limestone head of Ikhnaton’s Queen Nofretete
Metropolitan Museum of Art facsimile of original in State Museum, Berlin
(See page 188)
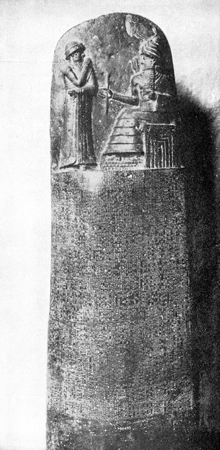
FIG. 27—The god Shamash transmits a code of laws to Hammurabi
Louvre; photo copyright W. A. Mansell & Co., London
(See page 219)

FIG. 28—The “Lion of Babylon” Painted tile-relief
State Museum, Berlin; Courtesy of the Metropolitan Museum of Art
(See pages 254-5)

FIG. 29—Head of Esarhaddon
State Museum, Berlin
(See page 281)
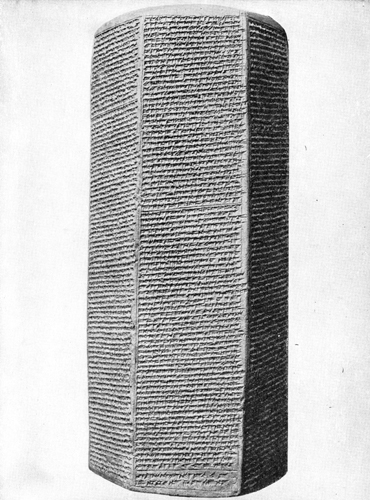
FIG. 30—The Prism of Sennacherib
Iraq Museum; courtesy of the Oriental Institute, University of Chicago
(See Chapter X)
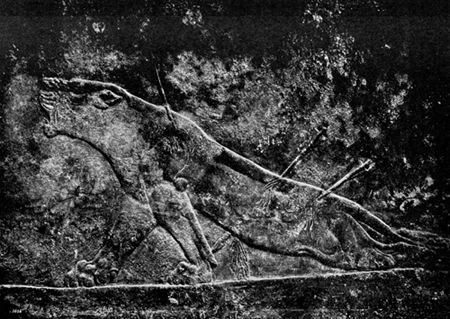
FIG. 31—The Dying Lioness of Nineveh
British Museum; photo by Metropolitan Museum of Art
(See page 279)

FIG. 32—The Lion Hunt; relief on alabaster, from Nineveh
British Museum; Metropolitan Museum of Art
(See page 279)
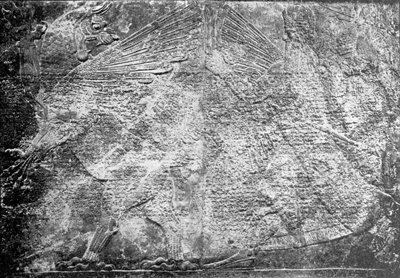
FIG. 33—Assyrian relief of Marduk fighting Tiamat, from Kalakh
British Museum; photo copyright by W. A. Mansell, London
(See page 278)

FIG. 34—Winged Bull from the palace of Ashurnasirpal II at Kalakh
Metropolitan Museum of Art
(See page 279)
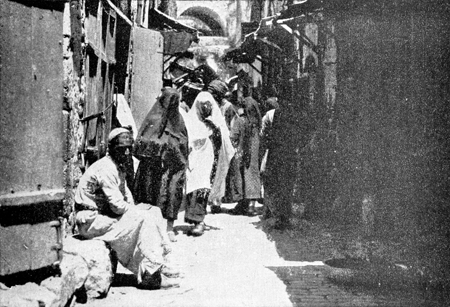
FIG. 35—A street in Jerusalem
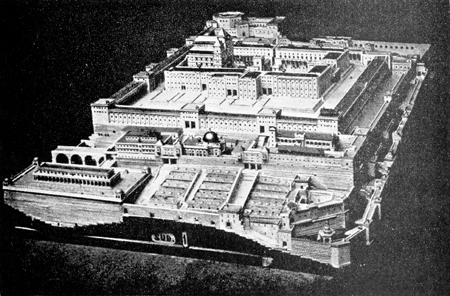
FIG. 36—Hypothetical restoration of Solomon’s Temple
Underwood & Underwood
(See page 307)
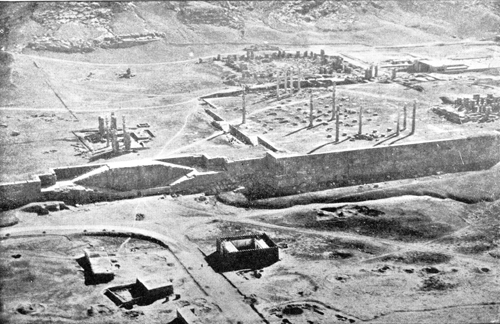
FIG. 37—The ruins of Persepolis
Courtesy of the Oriental Institute, University of Chicago
(See page 379)
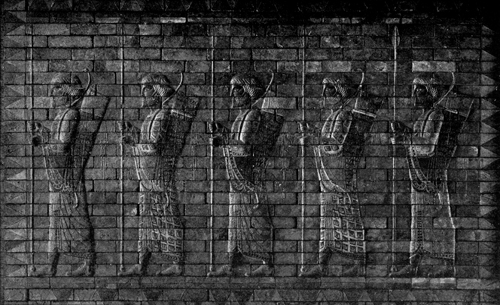
FIG. 38—“Frieze of the Archers” Painted tile-relief from Susa
Louvre; photo by Archives Photographiques d’Art et d’Histoire
(See page 380)
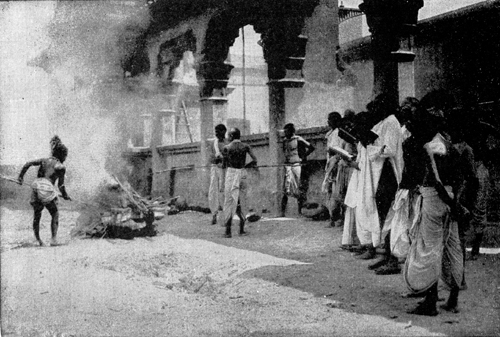
FIG. 39—Burning Ghat at Calcutta
Bronson de Cou, from Ewing Galloway, N. Y.
(See page 521)
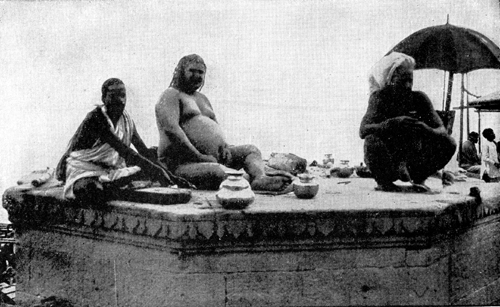
FIG. 40—“Holy Men” at Benares
(See page 521)
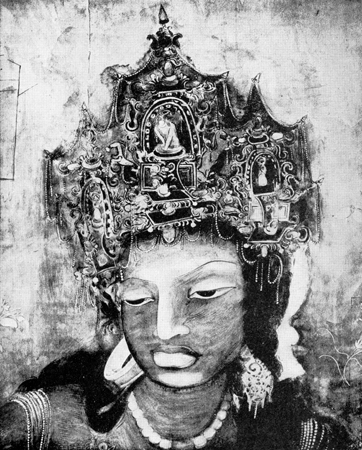
FIG. 41—A fresco at Ajanta
(See pages 589-90)
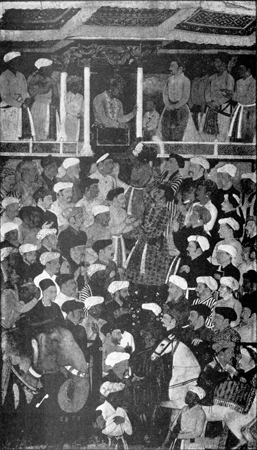
FIG. 42—Mogul painting of Durbar of Akbar at Akbarabad. Ca. 1620
Boston Museum of Fine Arts
(See page 591)
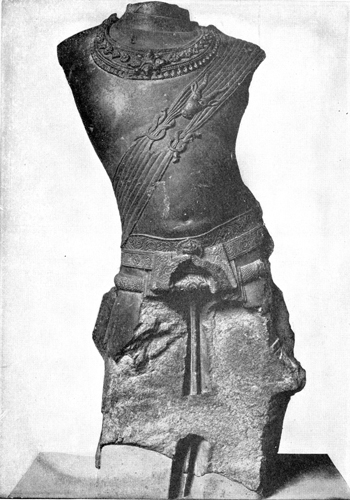
FIG. 43—Torso of a youth, from Sanchi
Victoria and Albert Museum, London
(See pages 593-6)
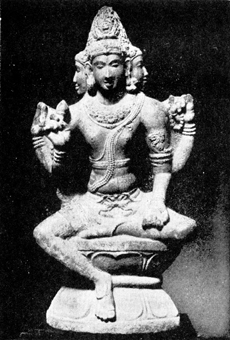
FIG. 44—Seated statue of Brahma, 10th century
Metropolitan Museum of Art
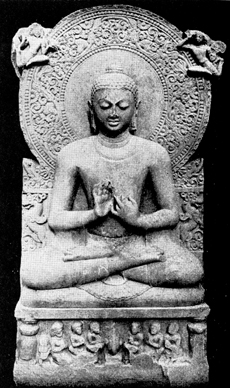
FIG. 45—The Buddha of Sarnath, 5th century
Photo by A. K. Coomaraswamy
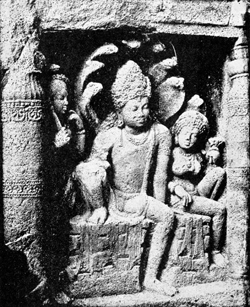
FIG. 46—The Naga-King. Façade relief on Ajanta Cave-temple XIX
Courtesy of A. K. Coomaraswamy
(See pages 593-6)
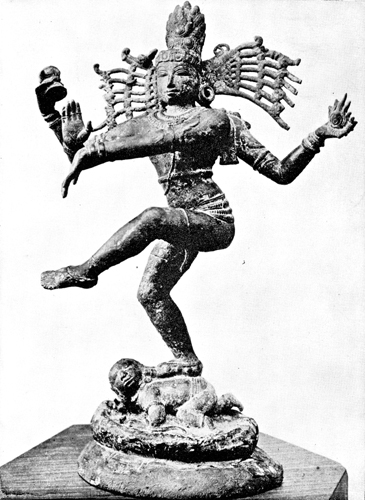
FIG. 47—The Dancing Shiva. South India, 17th century
Minneapolis Institute of Arts
(See page 594)

FIG. 48—The Three-faced Shiva, or Trimurti, Elephanta
Underwood & Underwood
(See page 594)
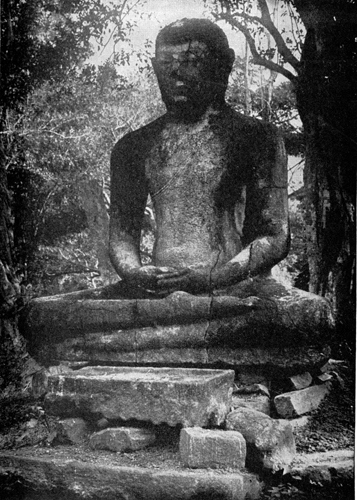
FIG. 49—The Buddha of Anuradhapura, Ceylon
Ewing Galloway, N. Y.
(See page 595)

FIG. 50—Lion capital of Ashoka column
Sarnath Museum, Benares; copyright Archaeological Survey of India
(See page 596)

FIG. 51—Sanchi Tope, north gate
Underwood & Underwood
(See page 597)
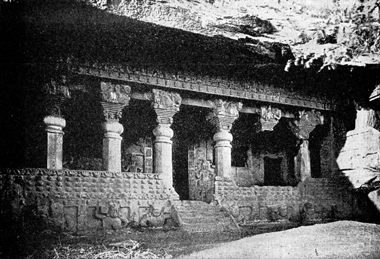
FIG. 52—Façade of the Gautami-Putra Monastery at Nasik
India Office, London
(See page 597)

FIG. 53—Chaitya hall interior, Cave XXVI, Ajanta.
(See page 598)
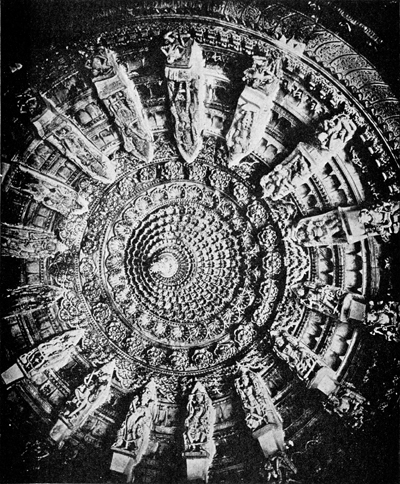
FIG. 54—Interior of dome of the Tejahpala Temple at Mt. Abu
Johnston & Hoffman, Calcutta
(See page 598)
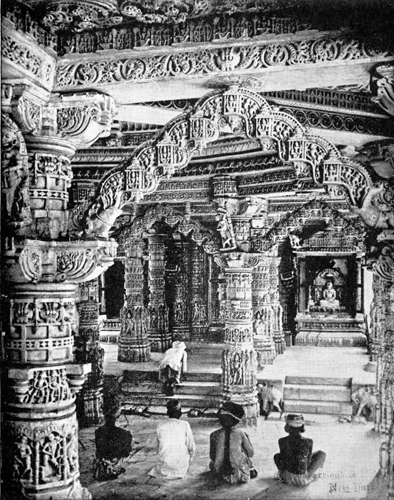
FIG. 55—Temple of Vimala Sah at Mt. Abu
Underwood & Underwood
(See page 598)
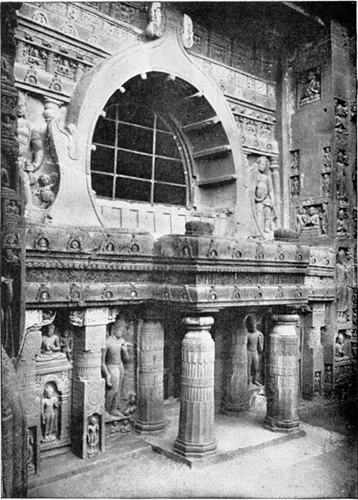
FIG. 56—Cave XIX Ajanta
Indian State Railways
(See page 598)
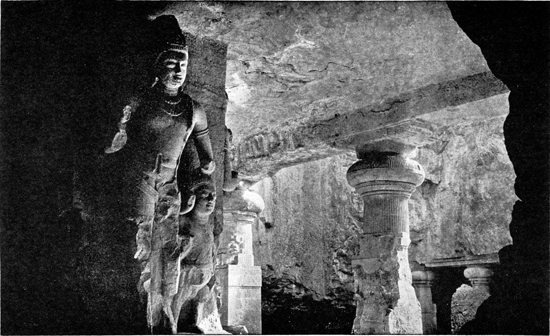
FIG. 57—Elephanta Caves, near Bombay
By Cowling, from Ewing Galloway, N. Y.
(See page 596)
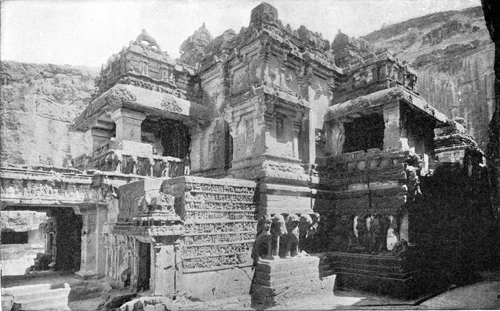
FIG. 58—The rock-cut Temple of Kailasha
Indian State Railways
(See page 601)

FIG. 59—Guardian deities, Temple of Elura
Indian State Railways
(See page 601)
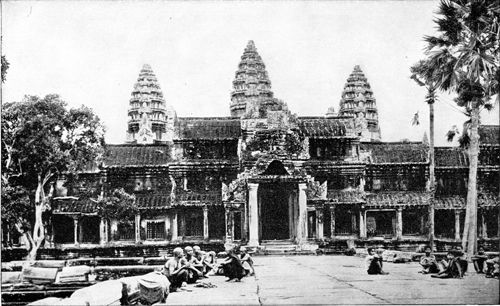
FIG. 60—Façade, Angkor Wat, Indo-China
Publishers’ Photo Service
(See pages 604-5)
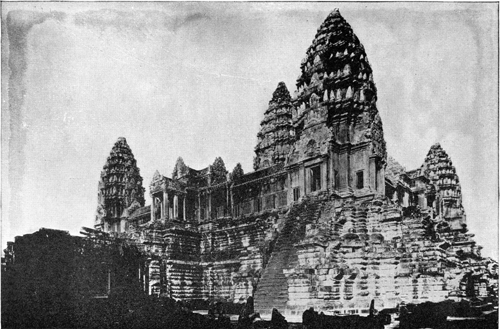
FIG. 61—Northeast end of Angkor Wat, Indo-China
Publishers’ Photo Service
(See pages 604-5)
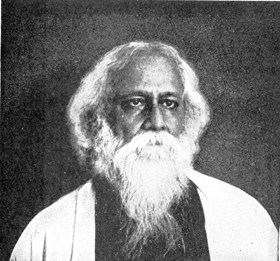
FIG. 62—Rabindranath Tagore
Underwood & Underwood
(See page 619)
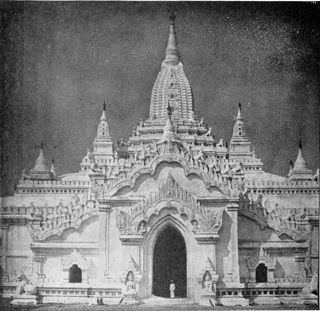
FIG. 63—Ananda Palace at Pagan, Burma
Underwood & Underwood
(See page 606)
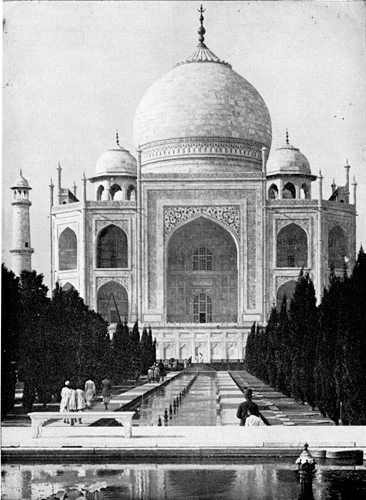
FIG. 64—The Taj Mahal Agra
Ewing Galloway, N. Y.
(See page 609)
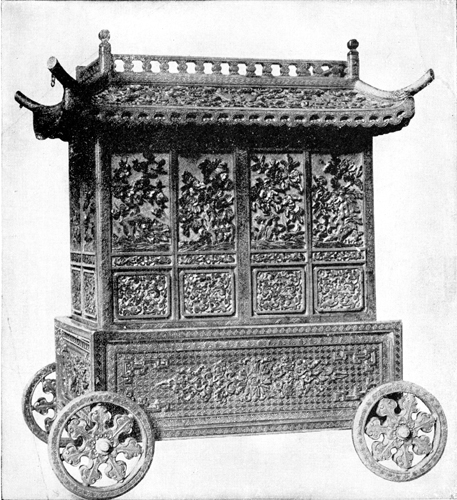
FIG. 65—Imperial jewel casket of blue lacquer
Underwood & Underwood
(See page 736)
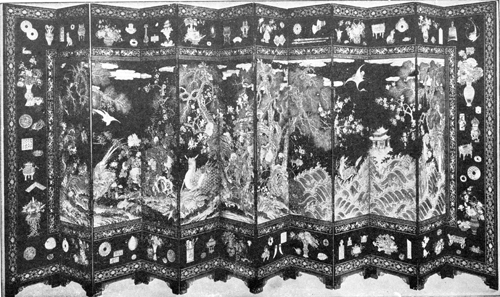
FIG. 66—The lacquered screen of K’ang-hsi
Victoria and Albert Museum, London
(See page 736)
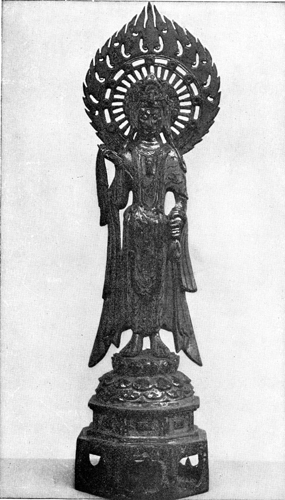
FIG. 67—A bronze Kuan-yin of the Sui period
Metropolitan Museum of Art
(See page 738)
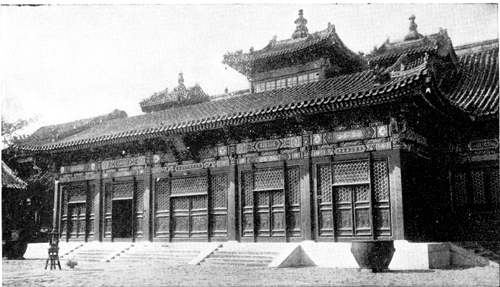
FIG. 68—Summer Palace, Peiping
(See page 742)
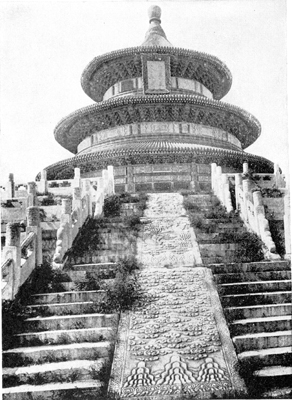
FIG. 69—Temple of Heaven, Peiping
Publishers’ Photo Service
(See page 742)
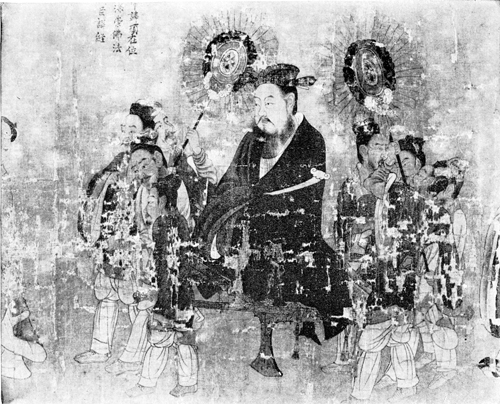
FIG. 70—Portraits of Thirteen Emperors. Attributed to Yen Li-pen, 7th century
Boston Museum of Fine Arts
(See pages 745-52)
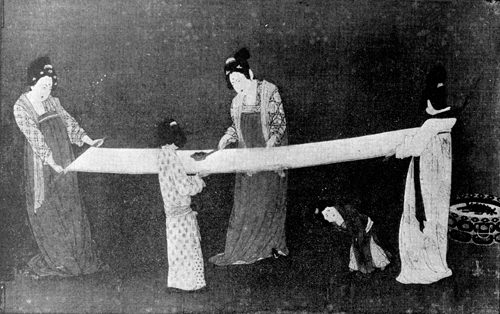
FIG. 71—The Silk-beaters. By the Emperor Hui Tsung (1101-26)
Boston Museum of Fine Arts
(See page 750)
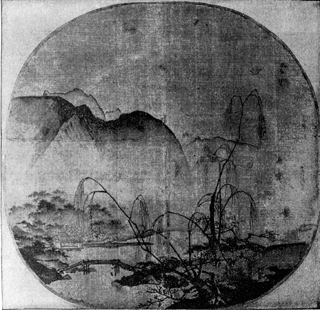
FIG. 72—Landscape with Bridge and Willows. Ma Yuan, 12th century
Boston Museum of Fine Arts
(See page 751)
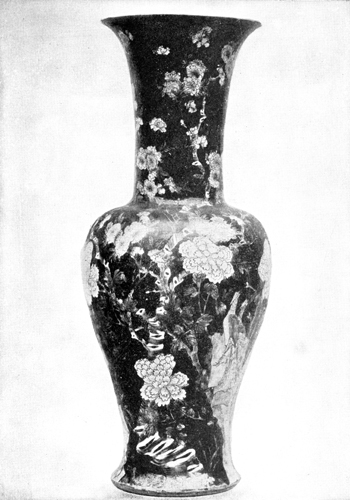
FIG. 73—A hawthorn vase from the K’ang-hsi period
Metropolitan Museum of Art
(See page 758)
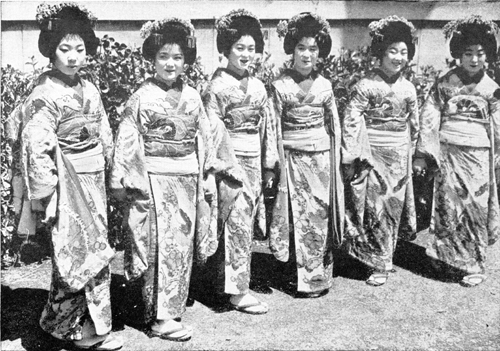
FIG. 74—Geisha girls
Ewing Galloway, N. Y.
(See page 862)
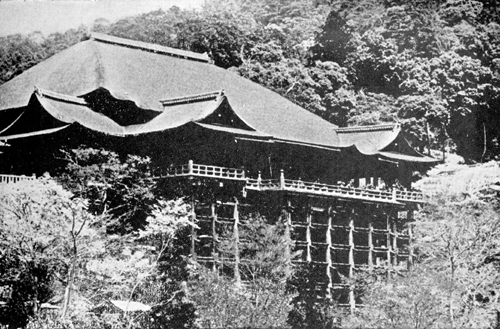
FIG. 75—Kiyomizu Temple, Kyoto, once a favorite resort of Japanese suicides
Underwood & Underwood
(See page 895)
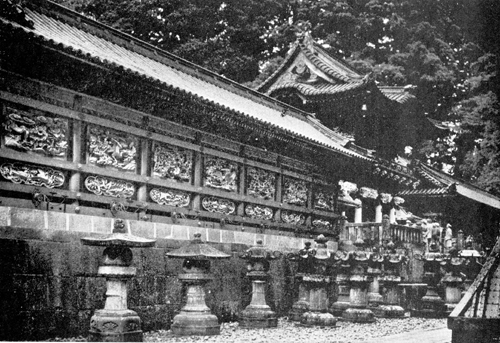
FIG. 76—Yo-mei-mon Gate, Nikko
(See page 895)
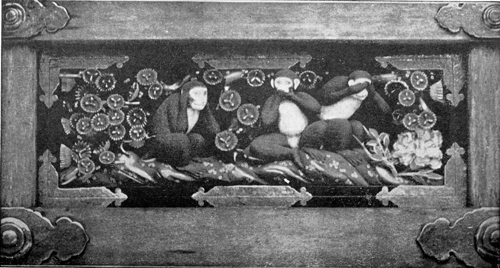
FIG. 77—The Monkeys of Nikko. “Hear no evil, speak no evil, see no evil”
Ewing Galloway, N. Y.
(See page 895)
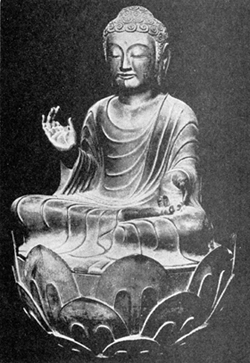
FIG. 78—Image of Amida-Buddha at Horiuji
Photo by Metropolitan Museum of Art
(See page 897)
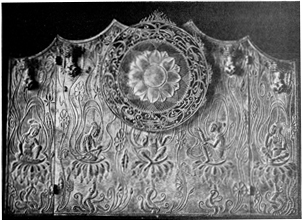
FIG. 79—The bronze halo and background of the Amida at Horiuji
Photo by Metropolitan Museum of Art
(See page 897)
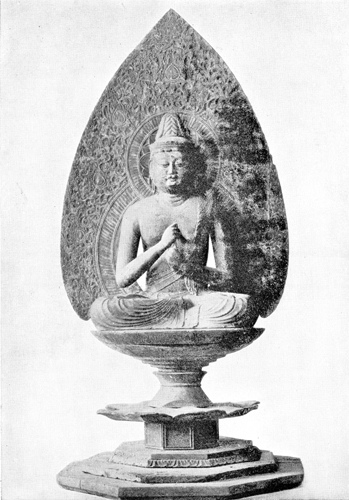
FIG. 80—The Vairochana Buddha of Japan. Carved and lacquered wood. Ca. 950A.D.
Metropolitan Museum of Art
(See pages 896-8)
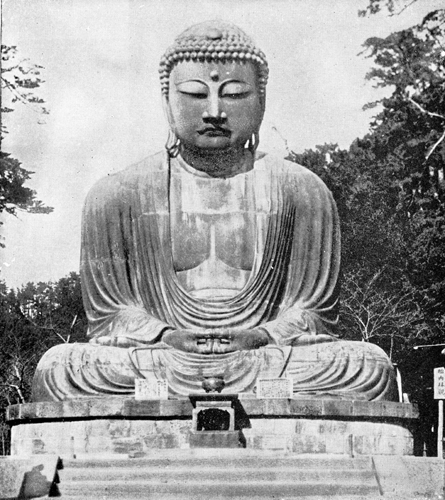
FIG. 81—The Daibutsu, or Great Buddha, at Kamakura
(See page 898)
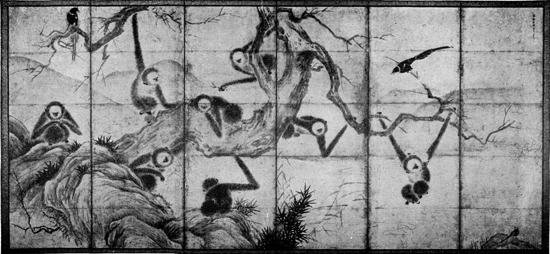
FIG. 82—Monkeys and Birds. By Sesshiu, 15th century
(See pages 904-5)
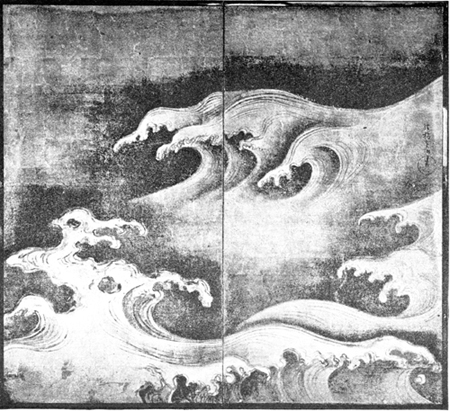
FIG. 83—A wave screen by Korin
Metropolitan Museum of Art
(See page 906)
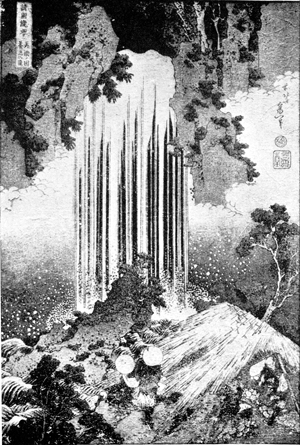
FIG. 84—The Falls of Yoro. By Hokusai
Metropolitan Museum of Art
(See pages 907-10)
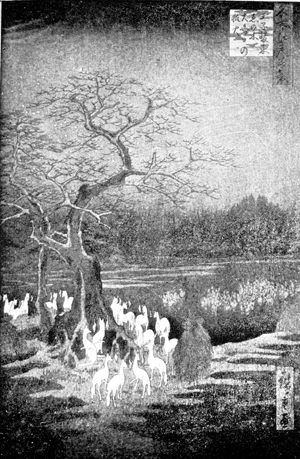
FIG. 85—Foxes. By Hiroshige
Metropolitan Museum of Art