
Chapter 3
The fighting for Caen and the surrounding area is inextricably bound with this unimposing hill. The fighting raged there for more than two weeks with very little interruption. At this time—the start of the second half of June 1944—it is important to know that the Germans still very much intended to launch a decisive offensive to eliminate the Allied bridgehead. This was to be done with newly brought-up armored formations—the II. SS-Panzer-Korps—as well as armored divisions that were to be pulled from elsewhere out of then-current front lines. It was to this end that the three Tiger battalions were introduced. It was intended for the main effort to advance west past Caen on both sides of Tilly towards Bayeux and Arromanches. The purpose was to split the Allies. Following the destruction of the U.S. formations, the British forces were to be eliminated.
It was therefore essential that the terrain northwest of the Orne remain in German hands. Both the Orne River and its southeast banks restricted movement considerably. For their part, the British and the Canadians needed to take this sector in order to keep their operational options open, that is, to be able to continue the attack to the right (west) past Caen, since their attack had bogged down east of it.
General Montgomery started his Operation “Epsom” in the middle of the German preparations. One day prior to this—25 June 1944—was the attack of the 49th West Riding Division (Operation “Martlet”). Its objective was to take the smaller Odon River, which ran parallel to and north of the Orne to a certain extent, along with the dominant ridgeline on both sides of Rauray. It was also intended for this attack to force the Germans to prematurely commit their reserves in this sector, rendering them unable to commit them against the 15th Scottish Division to the east. Although the Operation “Martlet” attack caused a crisis within the Panzer-Lehr-Division, it did not achieve its day’s objective by a long shot.
In fact, the countermeasures employed by elements of the 12. SS-Panzer-Division “Hitlerjugend,” together with tanks of the 3./schwere SS-Panzer-Abteilung 101, stabilized the situation to the west of Rauray on 26 June 1944. The attack by the 147th Infantry Brigade in the woods between Tessel and Bretteville and at Rauray was blocked by one of the division’s mechanized infantry regiments. At Grainville, SS-Untersturmführer Amselgruber destroyed three enemy tanks together with an additional Tiger of his 3rd Company and brought the infantry attack there to a standstill. A single Tiger eliminated four Shermans of the 23rd Hussars at Mouen. New positions were occupied along a line running Marcelet—high ground southeast of Cheux—Rauray—Vendes. After losing nine tanks, the 9th Royal Tank Regiment had to pull back towards evening.
The fighting on 26 June 1944 has been impressively portrayed in an autobiography written by Stuart Hills—By Tank into Normandy—concerning his operations with the 8th Armoured Brigade:
Meanwhile A Squadron had begun moving up from Fontenay, the plan being that they would come through us and thrust towards Rauray. John Semken was Squadron Leader and he had already heard from C Squadron that there were tanks about, so his gun loader put an AP shell up the spout, just in case. As they cleared Fontenay, they were suddenly confronted by an enormous tank coming round the bend in front. It was hard to know who was more surprised, but John shrieked, “Fire, it’s a Hun,” and they loosed off about ten rounds into the smoke. As this cleared away, it was observed that the crew were baling out as small flames came from inside the tank. It was a Tiger of 12th SS Panzer, the first Tiger to be captured in Normandy, and made an impressive sight at close quarters as both its size and the thickness of its armour became apparent. Although the range had been only sixty yards, not one Sherman shell had penetrated that armour. The fire in the Tiger, we discovered, had instead been caused by a shot hitting the side of the driver’s observation visor and showering white-hot splinters into the tank. The driver had screamed that he had been hit and the commander had obligingly ordered his crew out.
A Squadron squeezed past the Tiger and into a field on the right where they deployed. During the next two hours they systematically shot up every hedgerow as they advanced. Some of John Semken’s tanks were Sherman Fireflies, and they started knocking out one German tank after another. Sergeant Dring claimed no less than four himself, and a Panther was shot up by the whole squadron as it drove across our front, its crew baling out as it was still moving. The German infantry started to surrender, leaping out of the ground under the noses of the tanks, while our own infantry came up to finish things off. It had been a great day. Thirteen Panzer Mark IVs had been knocked out, along with a Tiger and a Panther. The enemy tank force defending Rauray had been eliminated and their infantry overrun. Aggressive tactics had paid off, and at relatively small cost to ourselves. C Squadron had lost two tanks, with two dead and two wounded. I felt encouraged by the way each squadron had performed and this was reflected in the general morale of my troop, in spite of the casualties. We had won a tank battle against significant opposition, and this gave our confidence an important boost.
On the next day, SS-Unterscharführer Warmbrunn’s tank was knocked out during a reconnaissance mission at Cheux, where it was destroyed by a 57-millimeter antitank gun of the 119th Battery and several Shermans. The battalion’s eighteen operational tanks were scattered over the entire corps sector.
During the failed defense against the enemy attack on Grainville on 28 June 1944, Tiger 331 of SS-Untersturmführer Amselgruber was knocked out after it had destroyed two Shermans. Despite severe leg wounds, Amselgruber remained with his troops. SS-Hauptsturmführer Möbius succeeded in knocking out six enemy tanks before a round jammed in his main gun that could not be extracted. He was then knocked out by some ten enemy tanks.
The remaining Tigers turned back other enemy advances south and southeast of Verson. Tiger 334 was abandoned in Rauray proper. This was also described by Stuart Hills in his book:
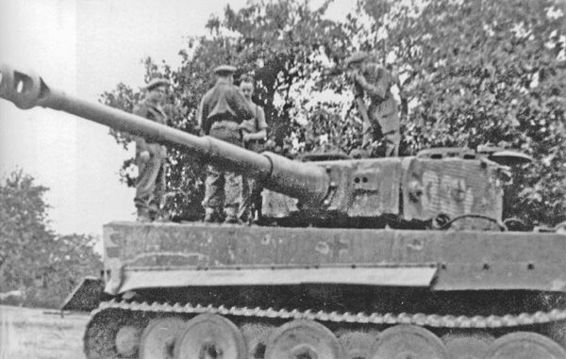
The next day, June 27, it was B Squadron’s turn to take the lead. They sent out two troops to investigate the situation in Rauray but ran into several Panthers which must have been brought up during the night. Three Shermans were destroyed, and Troop Leader Ray Scott and the experienced Sergeants Biddell and Green were killed. By midday Rauray had been cleared and in it were found about eight German tanks, all damaged to some extent, and one Tiger, which seemed to be in perfect working order. We tried to incorporate it into our ranks, but unfortunately High Command wanted it to be taken back to England. Later that afternoon B Squadron ran into more trouble around Rauray, and by the end of the day only had seven tanks still serviceable out of their usual sixteen.
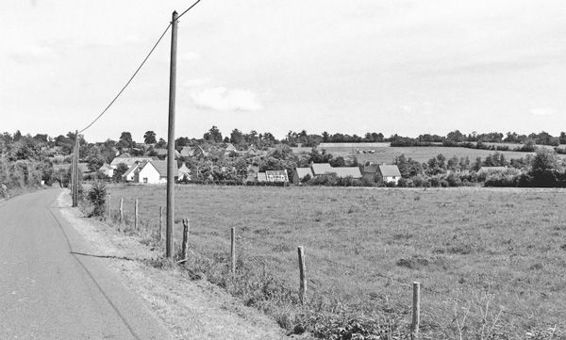
A view towards Tessel from the direction of Fontenay-le-Pesnel shows the dominant ridgeline in the distance that is located between the Orne and Odon Rivers.
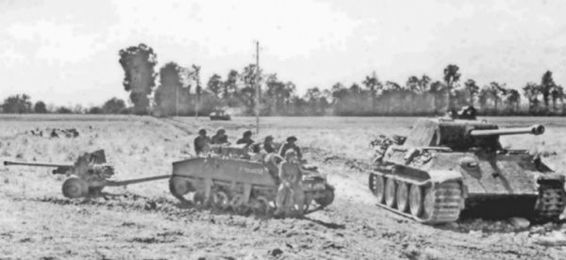
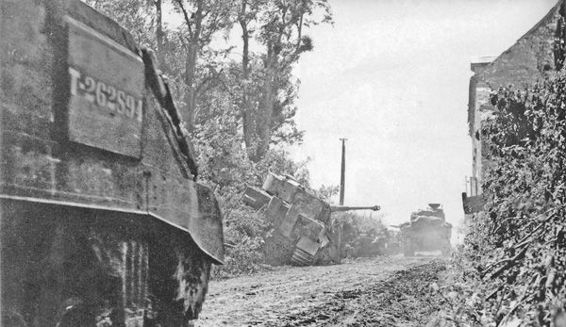
The knocked-out Panther at the intersection of the D139 and the D173. The still-smoking Tiger, hit several times, can be seen behind it. The photograph below shows the same intersection today. (IWM)
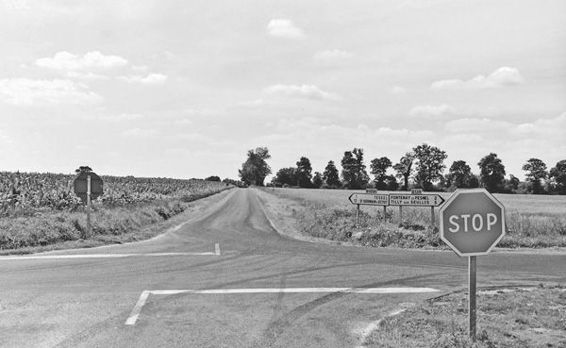
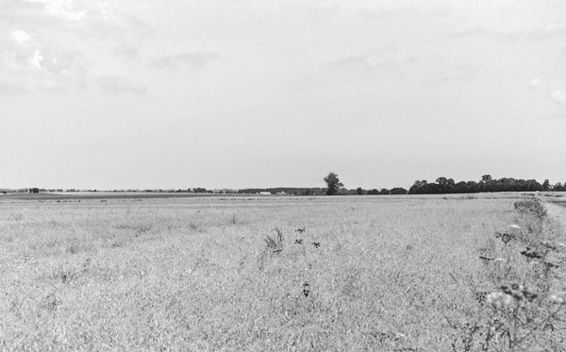
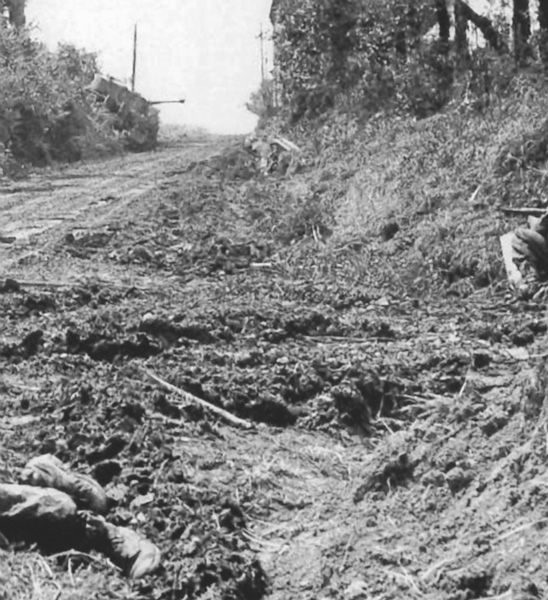
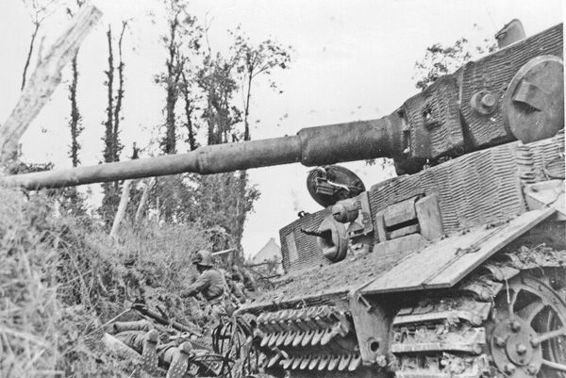
The view from the immobilized and abandoned Tiger shows that the British were attacked in the flank at precisely the moment that they were attempting to take the open terrain. The lower photograph shows that the British were able to start the Tiger and move it towards the intersection in the direction of Fontenay. The hits to the turret and the front slope caused the crew to abandon it in panic.
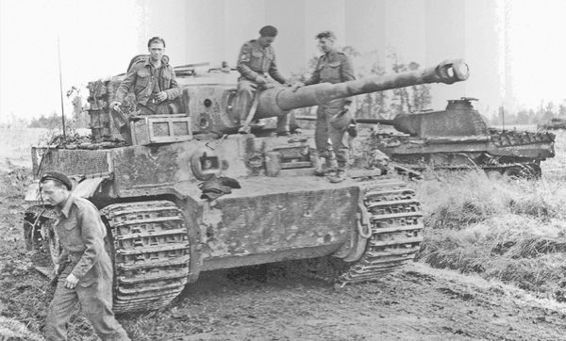
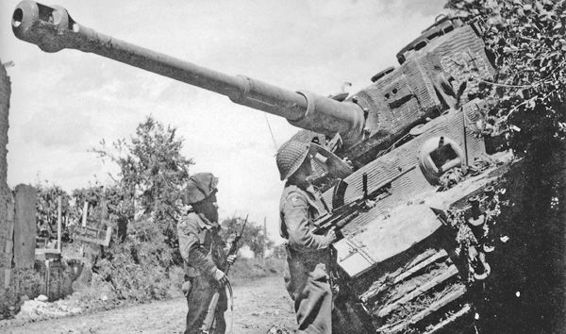
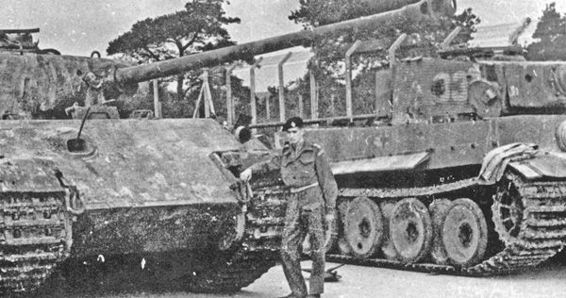
Various views of Tiger 334 in Rauray. (IWM)
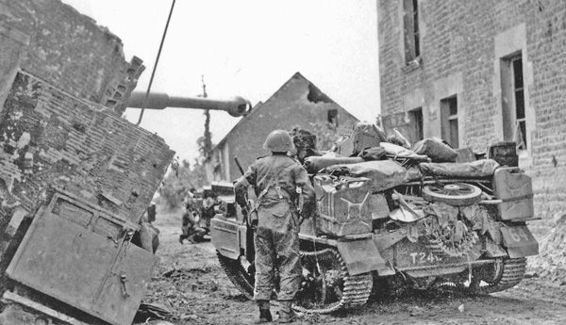
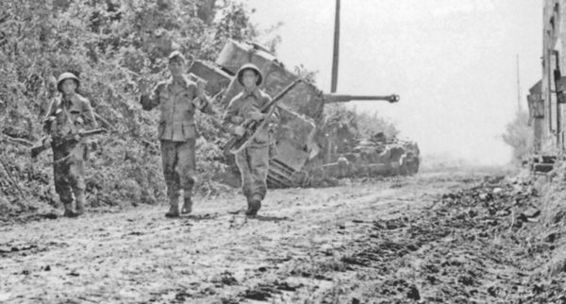
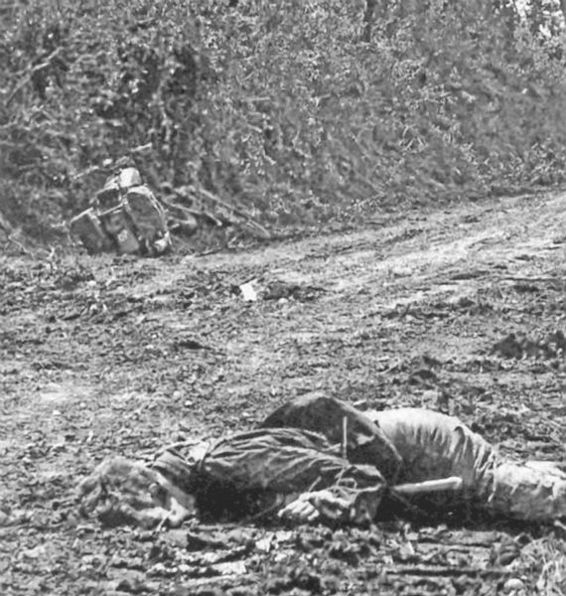
The dead German soldier is probably a Waffen SS despatch rider from the 12. SS-Panzer-Division
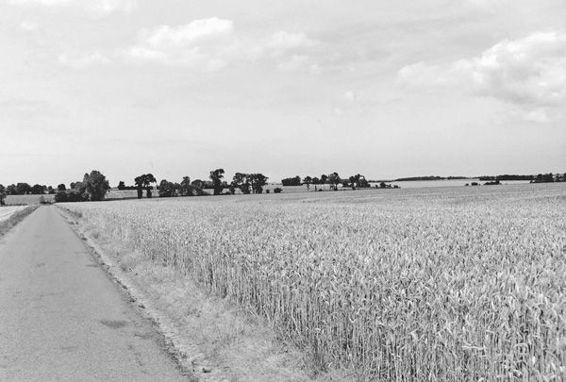
This photograph shows the approach route to Grainville from the north. This vantage point demonstrates how the terrain climbs to the north bank of the Odon, thus favoring the defense. The German counterattack aimed past Rauray (viewer’s left), but it was only partially successful.
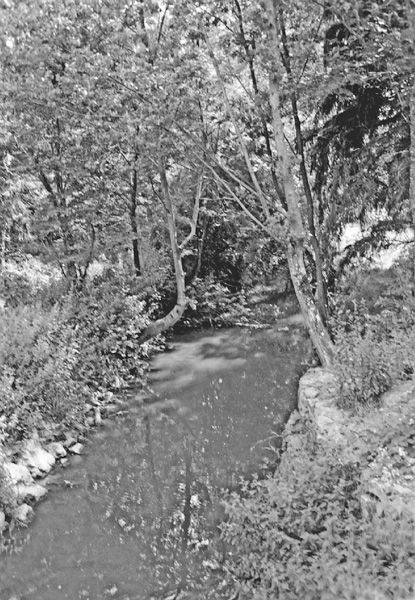
The Odon is only two meters wide and not very deep, but it runs through a deep cut. As a result, the British needed a great deal of fascines to establish crossing points. For that reason, the capture of the bridge at Tourville intact was even more important.