Obtaining fine surface detail with a high-powered scope comes with the compromise of a narrow field of view and you may wonder how you can create an image with the same amount of fine detail but with a much larger field of view. I recommend a software program which allows you to stitch together multiple high-resolution photos to produce one large image with a larger field of view. Software programs, such as Photoshop, can stitch together images well but there are other options available, and the one I will be discussing in more detail is Image Composite Editor (ICE) developed by Microsoft. As it is freeware and very user-friendly, it is a common choice for stitching and compositing images together.
The software is free to download from the following website:
https://www.microsoft.com/en-us/download/details.aspx?id=52459
Image Composite Editor (ICE)
Open Image Composite Editor and select the New Panorama from Images option at the top.
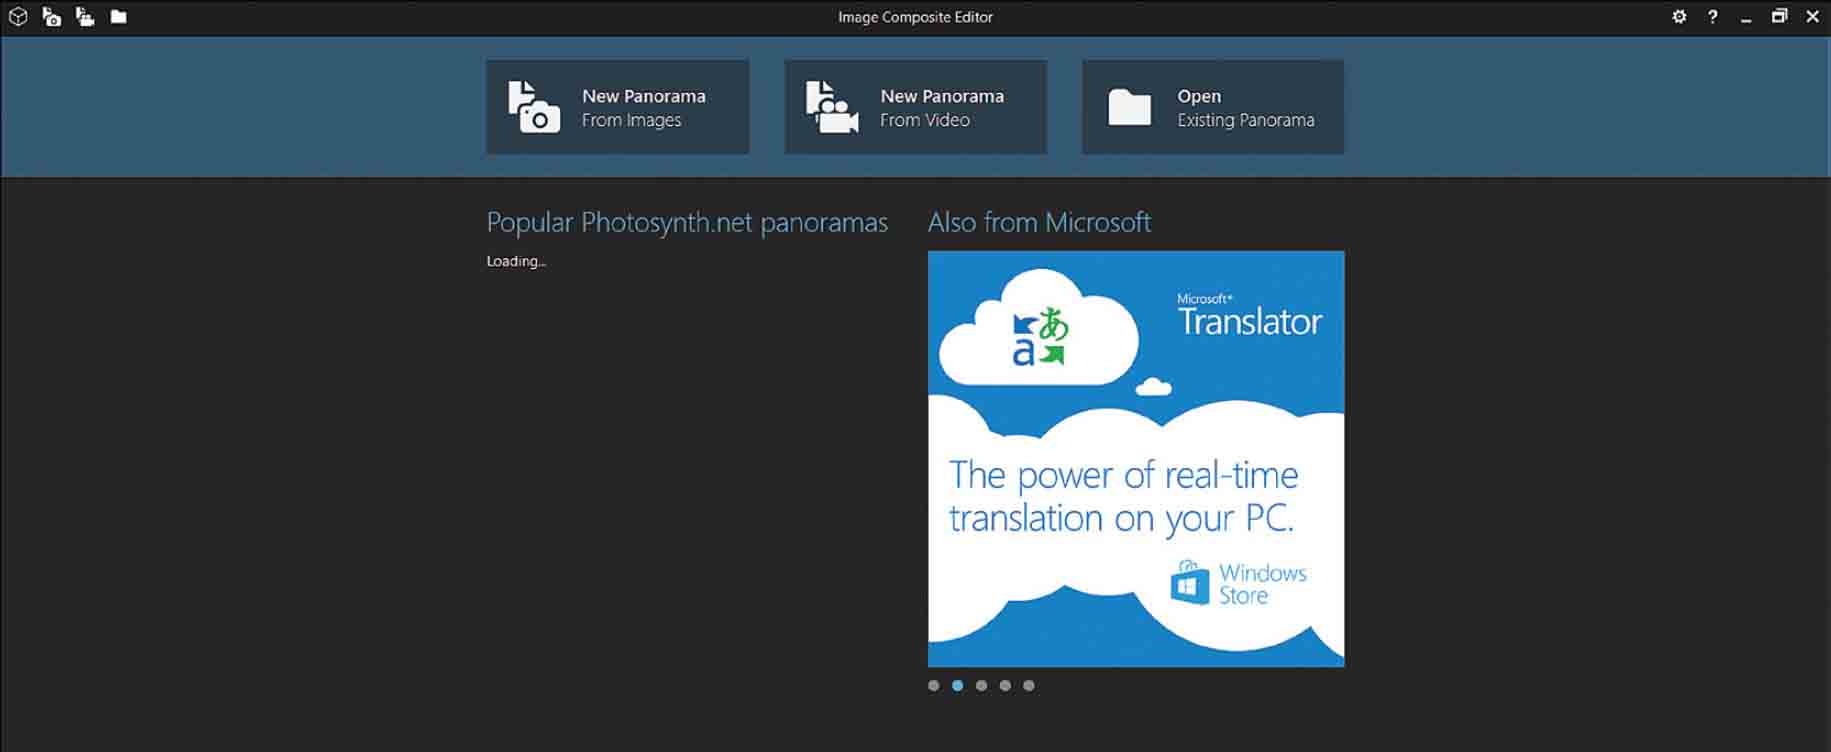
The software will ask you to select the images which you want to stitch together. As each image you choose must have some overlapping features which can be detected by the software, be mindful, when taking pictures for compositing, that you have this overlap, otherwise stitching will not work. You can add images using the button or drag and drop the photos into the selection area. Ensure that you have all the images for the composite before you proceed, otherwise the final image will be incomplete.

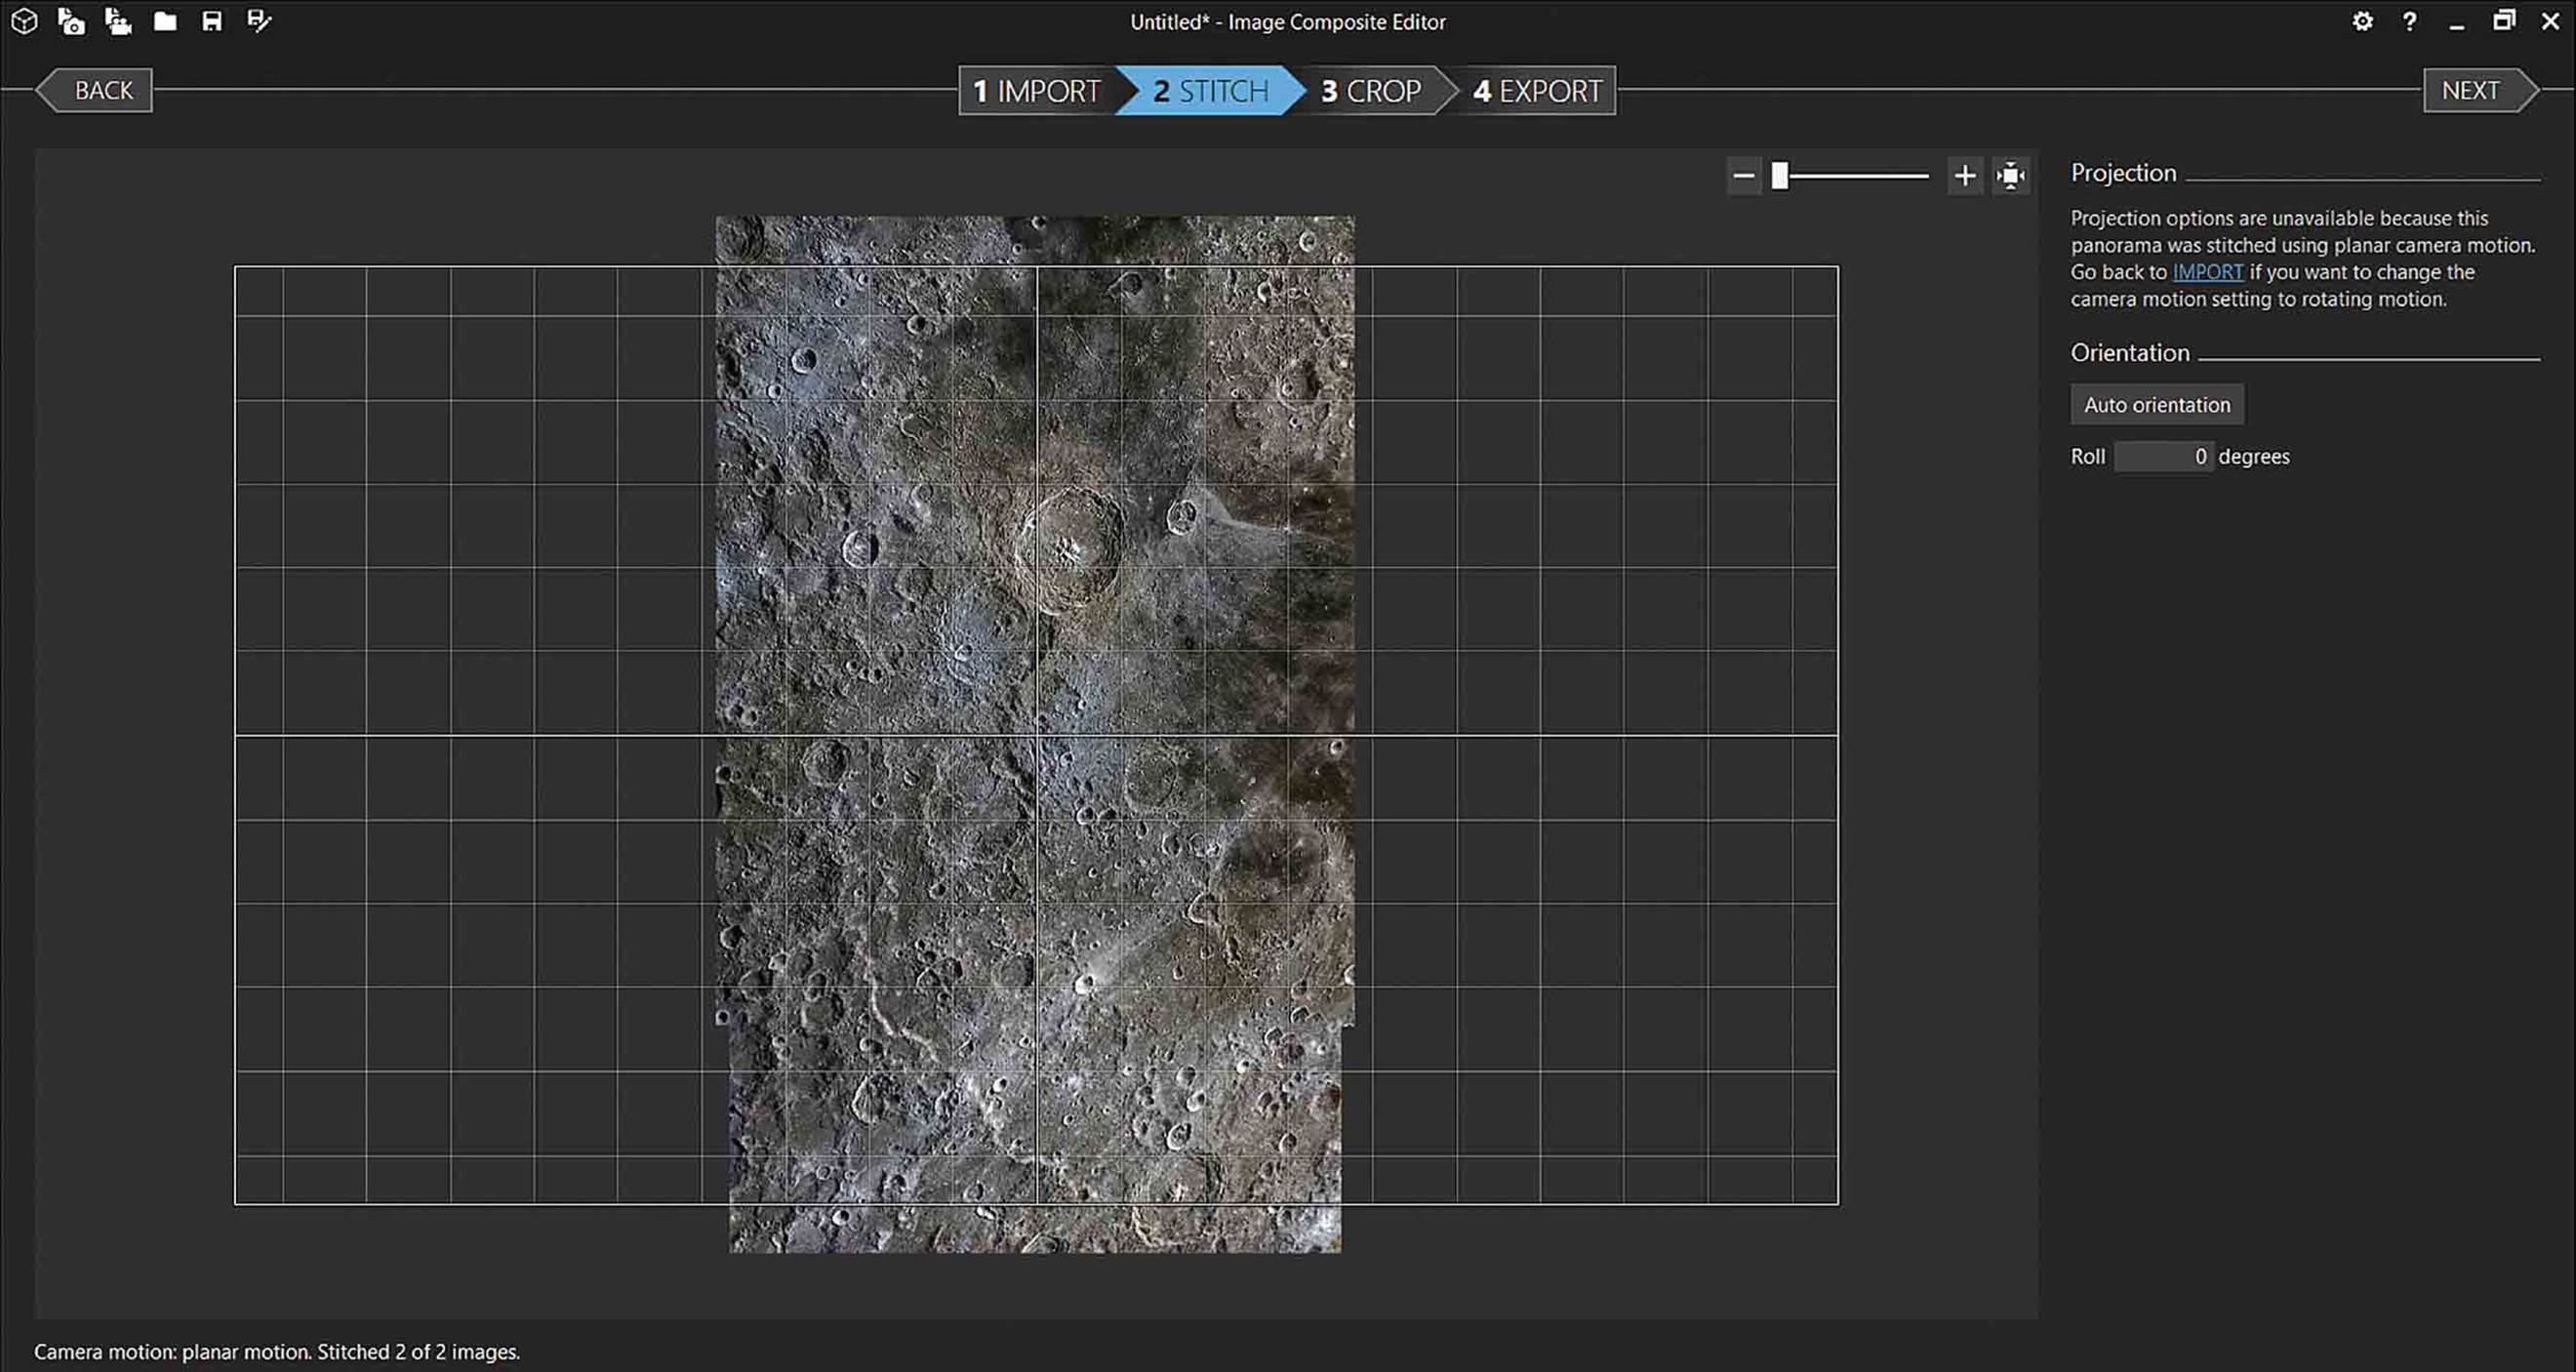
Select the Stitch option at the top and watch the software produce the final image; the software algorithm is very good at blending variations in colour and contrast to create a blemish-free composite. The Simple Panorama and Auto-detect options can usually find the overlapping features and stitch the photos together. However, the software occasionally struggles, and you will have to manually help identify the overlap points. If you find that ICE is having difficulty aligning the images, select the Structured Panorama option on the right.
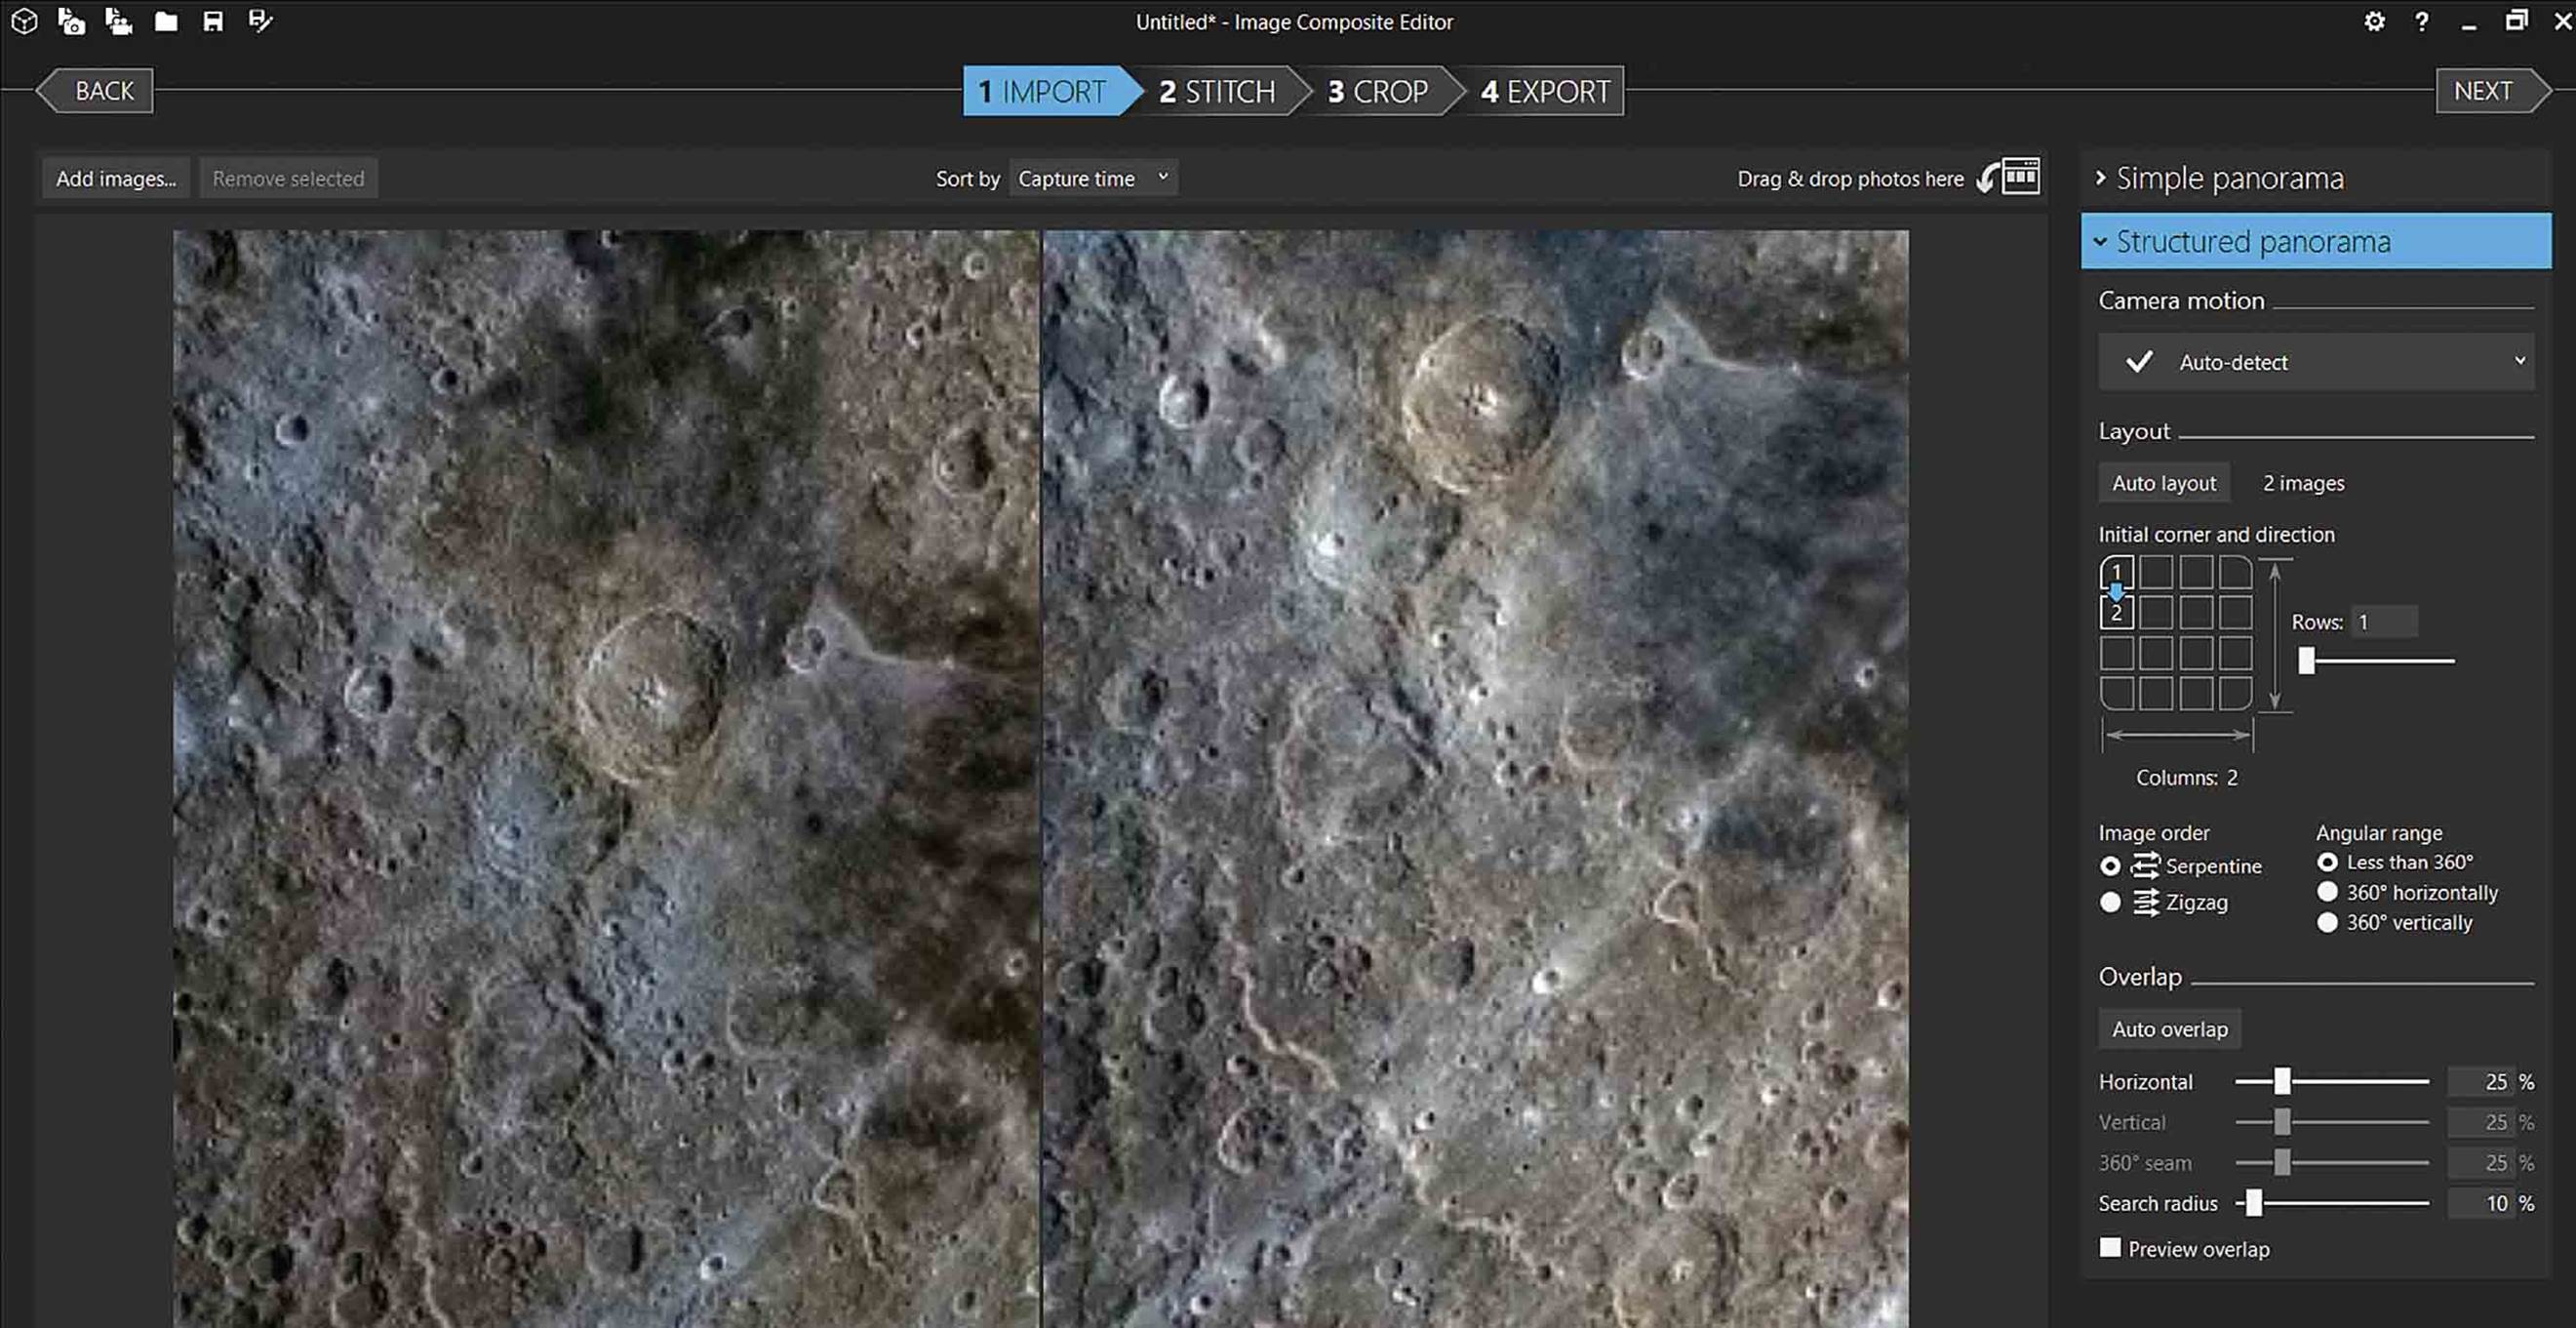
The chequered box asks how you would like to align the images. In this example I want to align them vertically; therefore, ensure that the numbers are vertical in the boxes and adjust the slider to two rows. Select Planar Motion instead of auto-detect before carrying out the manual alignment.
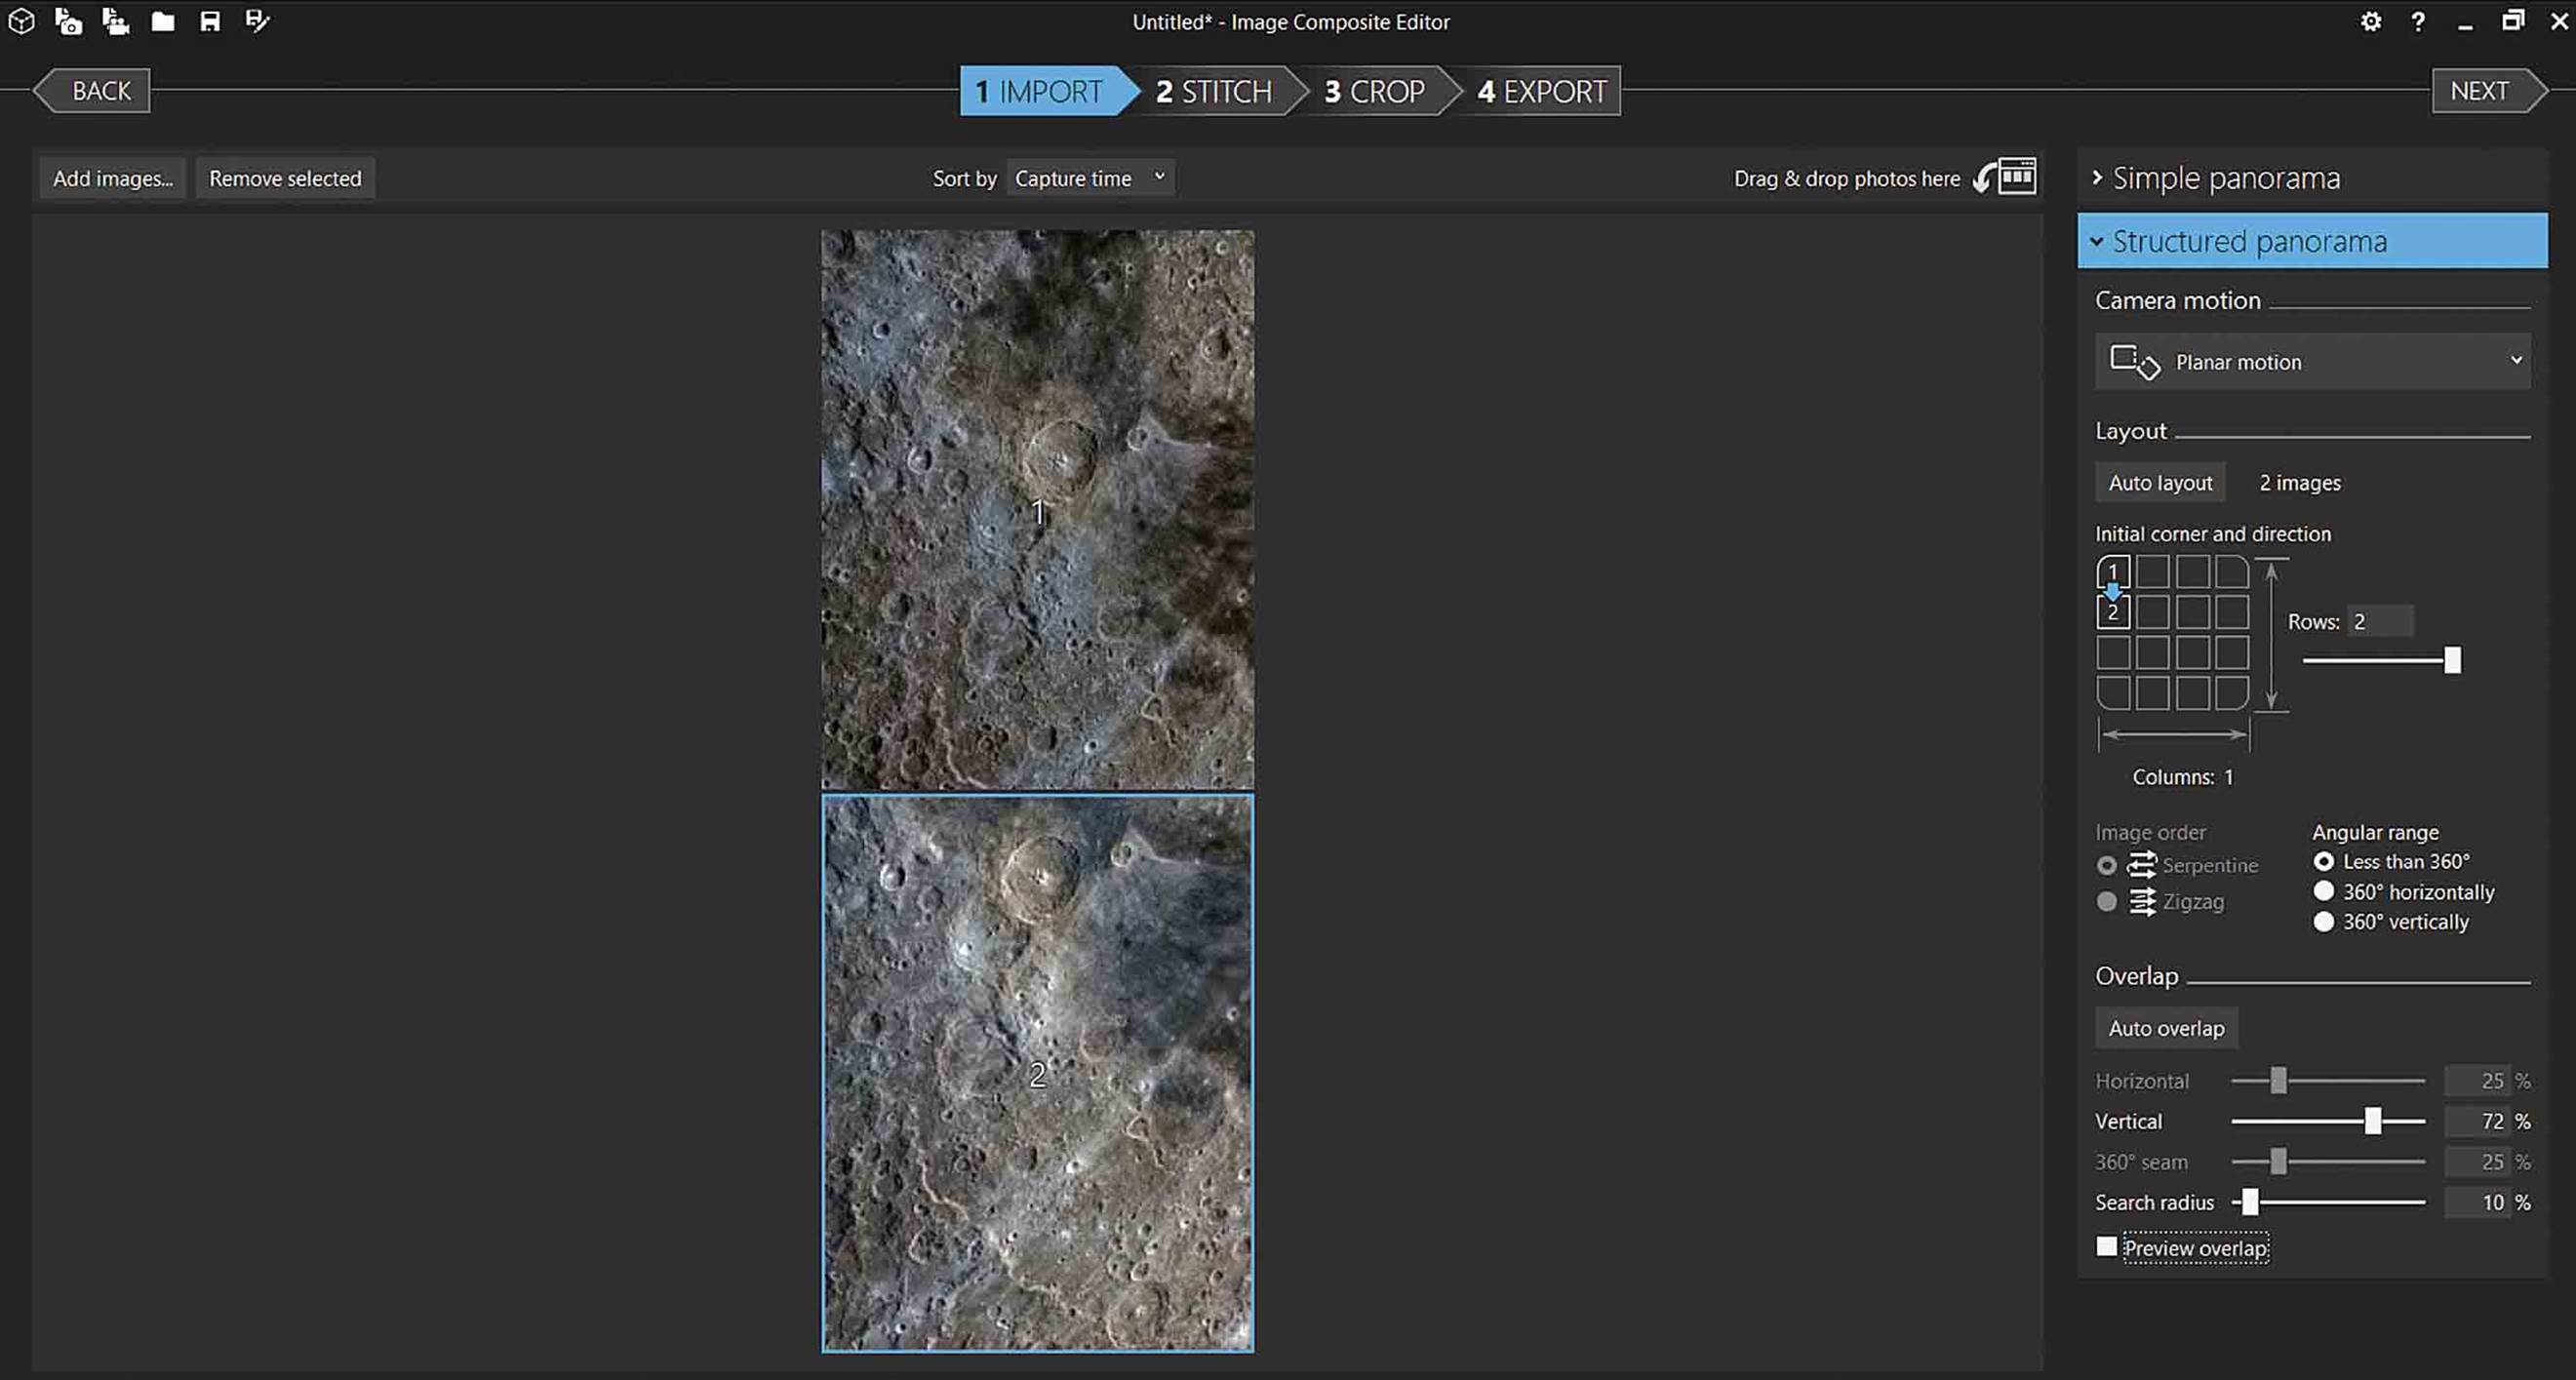
The selection places the images in two rows to allow manual alignment. If you have more than two pictures, you will need to organise them with overlap points adjacent to each other. To manually align the images, use the vertical or horizontal slider to move the photos until they overlap precisely. I will be using the vertical slider here. Click on the Preview Overlap button to view the overlap. When a fully overlapped image is shown, select Stitch at the top and the photos will be joined to form a single image.
The final image is larger and you have the option to crop if necessary. You may have to rotate the image to fit it into the crop area and finally save the image. Remember to save the picture as a non-loss format such as TIFF for maximum resolution. As you can see, Image Composite Editor is very good at merging the photos without a visible join or colour distortion.